- Home
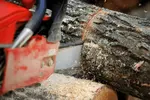
- Cooking With Wood
- Dutch Oven Cooking
Dutch Oven Cooking
This post may contain affiliate links so I earn a commission.
Dutch oven cooking has been around for hundreds of years.
In fact, they are so popular that the design has changed very little since its original 17th century design.
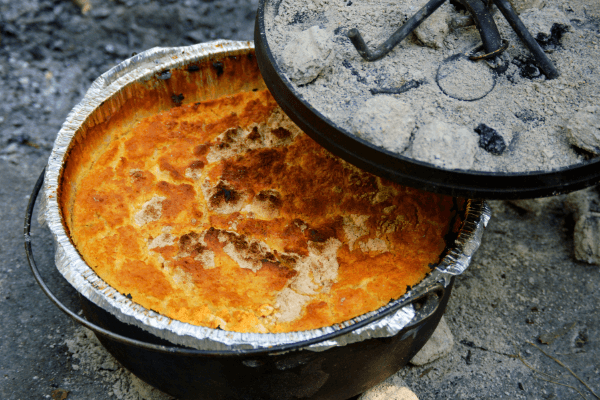
A dutch oven is basically a thick walled pot (usually constructed out of cast iron) that has a tight fitting lid to keep ashes out of the meal.
The cast iron design makes the pot very durable along with creating an even heat for cooking.
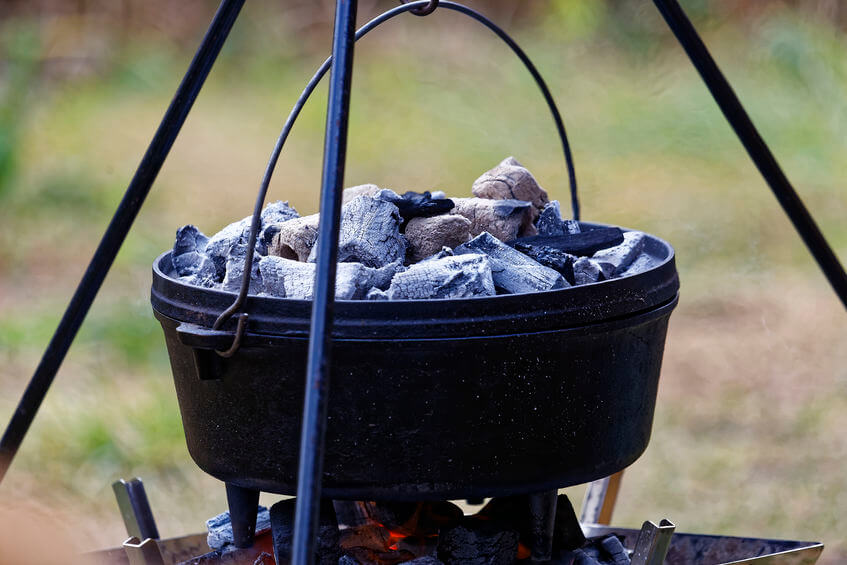
A dutch oven used for campfire cooking has 3 legs, a wire bail handle for moving the pot and a slightly concave lid.
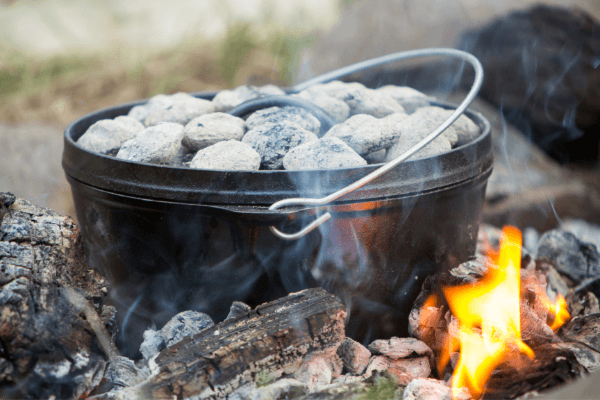
The lid contains a small rim that allows coals or charcoal to be added on top of the lid to create a more uniform internal heat.....like an oven.
A dutch oven is perfect for stews, soups, casseroles and other meals that require slow cooking.
You can also prepare other meals like biscuits, cakes or even pizzas.
One unique method of cooking with a dutch oven is stacking 3 or 4 ovens on top of each other like a pyramid.
Place the largest pot on the bottom and decrease the pot size as you stack.
By placing a layer of coals between the stacked pots (on the lids) you can create several meals at once while conserving the heat that would normally be lost!
Cleaning And Care
A cast iron dutch oven should be cleaned, seasoned and cared for just like any other piece of cast iron.
Remember, the only time you should use soap on cast iron is during the seasoning process.
Do not clean cast iron with soap because it will ruin the seasoning and leave behind a soapy taste.
To clean a seasoned pot, simply use hot water and a brush.
Also, the seasoning process should be conducted outdoors if possible because the oils applied by the manufacture will smoke and drip during the seasoning.
If possible, use a barbecue grill outside.....they work great.
If you decide to season the dutch oven indoors make sure to place a pan covered with aluminum foil underneath the pot to catch any dripping oil.
Also open nearby windows for ventilation.
Seasoning A Dutch Oven - Dutch Oven Cooking
Step 1 - Using just a small amount of soap and water, scrub the pot with a scouring pad to remove any oil or debris then rinse clean.
Step 2 - Preheat the pot for about 5 minutes at 350 degrees. Once the pot is hot and all the water has evaporated, rub it down with vegetable oil or plain shortening. Rub down the inside and outside of the pot and don't forget to do the lid.
Step 3 - Place the pot (upside down) and lid back inside the barbecue grill or stove. By placing the pot upside down it will allow the oils to run out and not pool at the bottom.
Step 4 - Allow the cast iron to bake for about an hour at 350 degrees. Once competed, let the cast iron cool for about 15 minutes then wipe it down with a paper towel to remove any residual oils. Repeat steps 2-4 for new dutch ovens or ones that are in poor condition.
The seasoning process can be repeated as necessary or every 6-12 months.
The dutch oven will only cook better with time if properly cared for.
Remember, only wash cast iron with soap during the seasoning process. Also, use oven mitts to handle the hot cast iron.
Overall - Dutch Oven Cooking
Why has dutch oven cooking been around for 300 years?
Easy... because they work!
They offer an easy way to create delicious meals over a campfire or barbecue and they will last a long time if properly cared for.
So, the next time you plan a camping trip or have the desire to cook with wood, don't forget to bring along a dutch oven!

About the Author
Obsessed with firewood, Nick is behind over 350+ of Firewood For Life's articles, as well as countless reviews, guides and YouTube videos to help readers like you reduce heating costs and create the perfect fire.
Recent Articles
-
Firewood Measurements - Firewood Cord Calculator
 Firewood measurements such as a cord, face cord or rick can be confusing. Use this free firewood calculator to determine exactly how much firewood you have.
 -
Alder Firewood - A Good Firewood Choice?
 Should you burn alder firewood in a fireplace, wood stove or campfire? Learn how to split, stack and dry alder for the best results.
 -
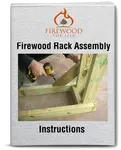
Firewood Rack Assembly Instructions - Build Your Own Log Rack
 Use these easy to follow firewood rack assembly instructions to build your own rugged and durable outdoor firewood rack.