- Home
- Chimney Guide
- Chimney Checklist
Chimney Checklist
This post may contain affiliate links so I earn a commission.
Performing a fireplace inspection using a simple chimney checklist reference guide is an important step for anyone who heats with firewood.
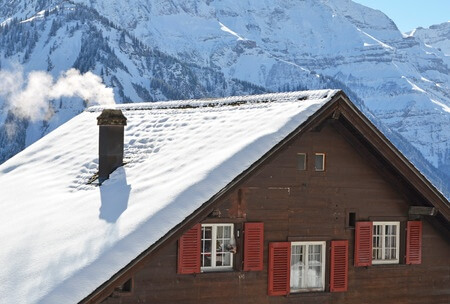
After Old Man Winter leaves for the season and your chimney and fireplace have kept you warm and comfy throughout his visit, you'll want to do an inspection, making sure everything’s in working order.
That way, when winter comes calling again, your fireplace and chimney will be ready for action.
Performing the chimney inspection in the springtime allows you to do the examination while the fireplace and chimney are both cold and not in use.
By performing the inspection during the spring you'll get a jump on any problems and you can make the needed repairs, thus assuring the units are in safe working order the next time you start a fire.
As Benjamin Franklin said, and the saying rings true when it comes to checking the workings of your chimney, “An ounce of prevention is worth a pound of cure.”
Carrying out a basic yearly inspection of your chimney and fireplace can prevent a potential house fire and stop moisture damage caused by water seeping into the premises through damaged chimney areas.
You will also save money by preventing costly repairs.
Chimney Checklist Guide
As suggested by the Chimney Safety Institute of America, working chimneys that see regular action throughout the year should receive a yearly Level 1 inspection to make sure everything concerning your chimney is structurally sound.
If serious problems exist, you may have to call in a professional, but there are basic chimney checklist repairs homeowners can do on their own.
Check Roof Flashing
Inspect the area of the roof where all areas of the flashing are connected to the chimney for any signs of deterioration.
Damaged flashing on the roof can create significant water damage to the structure, insulation and create water stains.
Check the flashing and caulk for any signs of cracking or damage.
You may have to go inside the attic and check for signs of water damage to the roof or rafters.
If you locate damage you have several choices, you can call in an expert chimney technician or seal any opening and joints with a top-grade silicone rubber, butyl or a polyurethane sealant, making sure the products are compatible with the type of metal flashing you have.
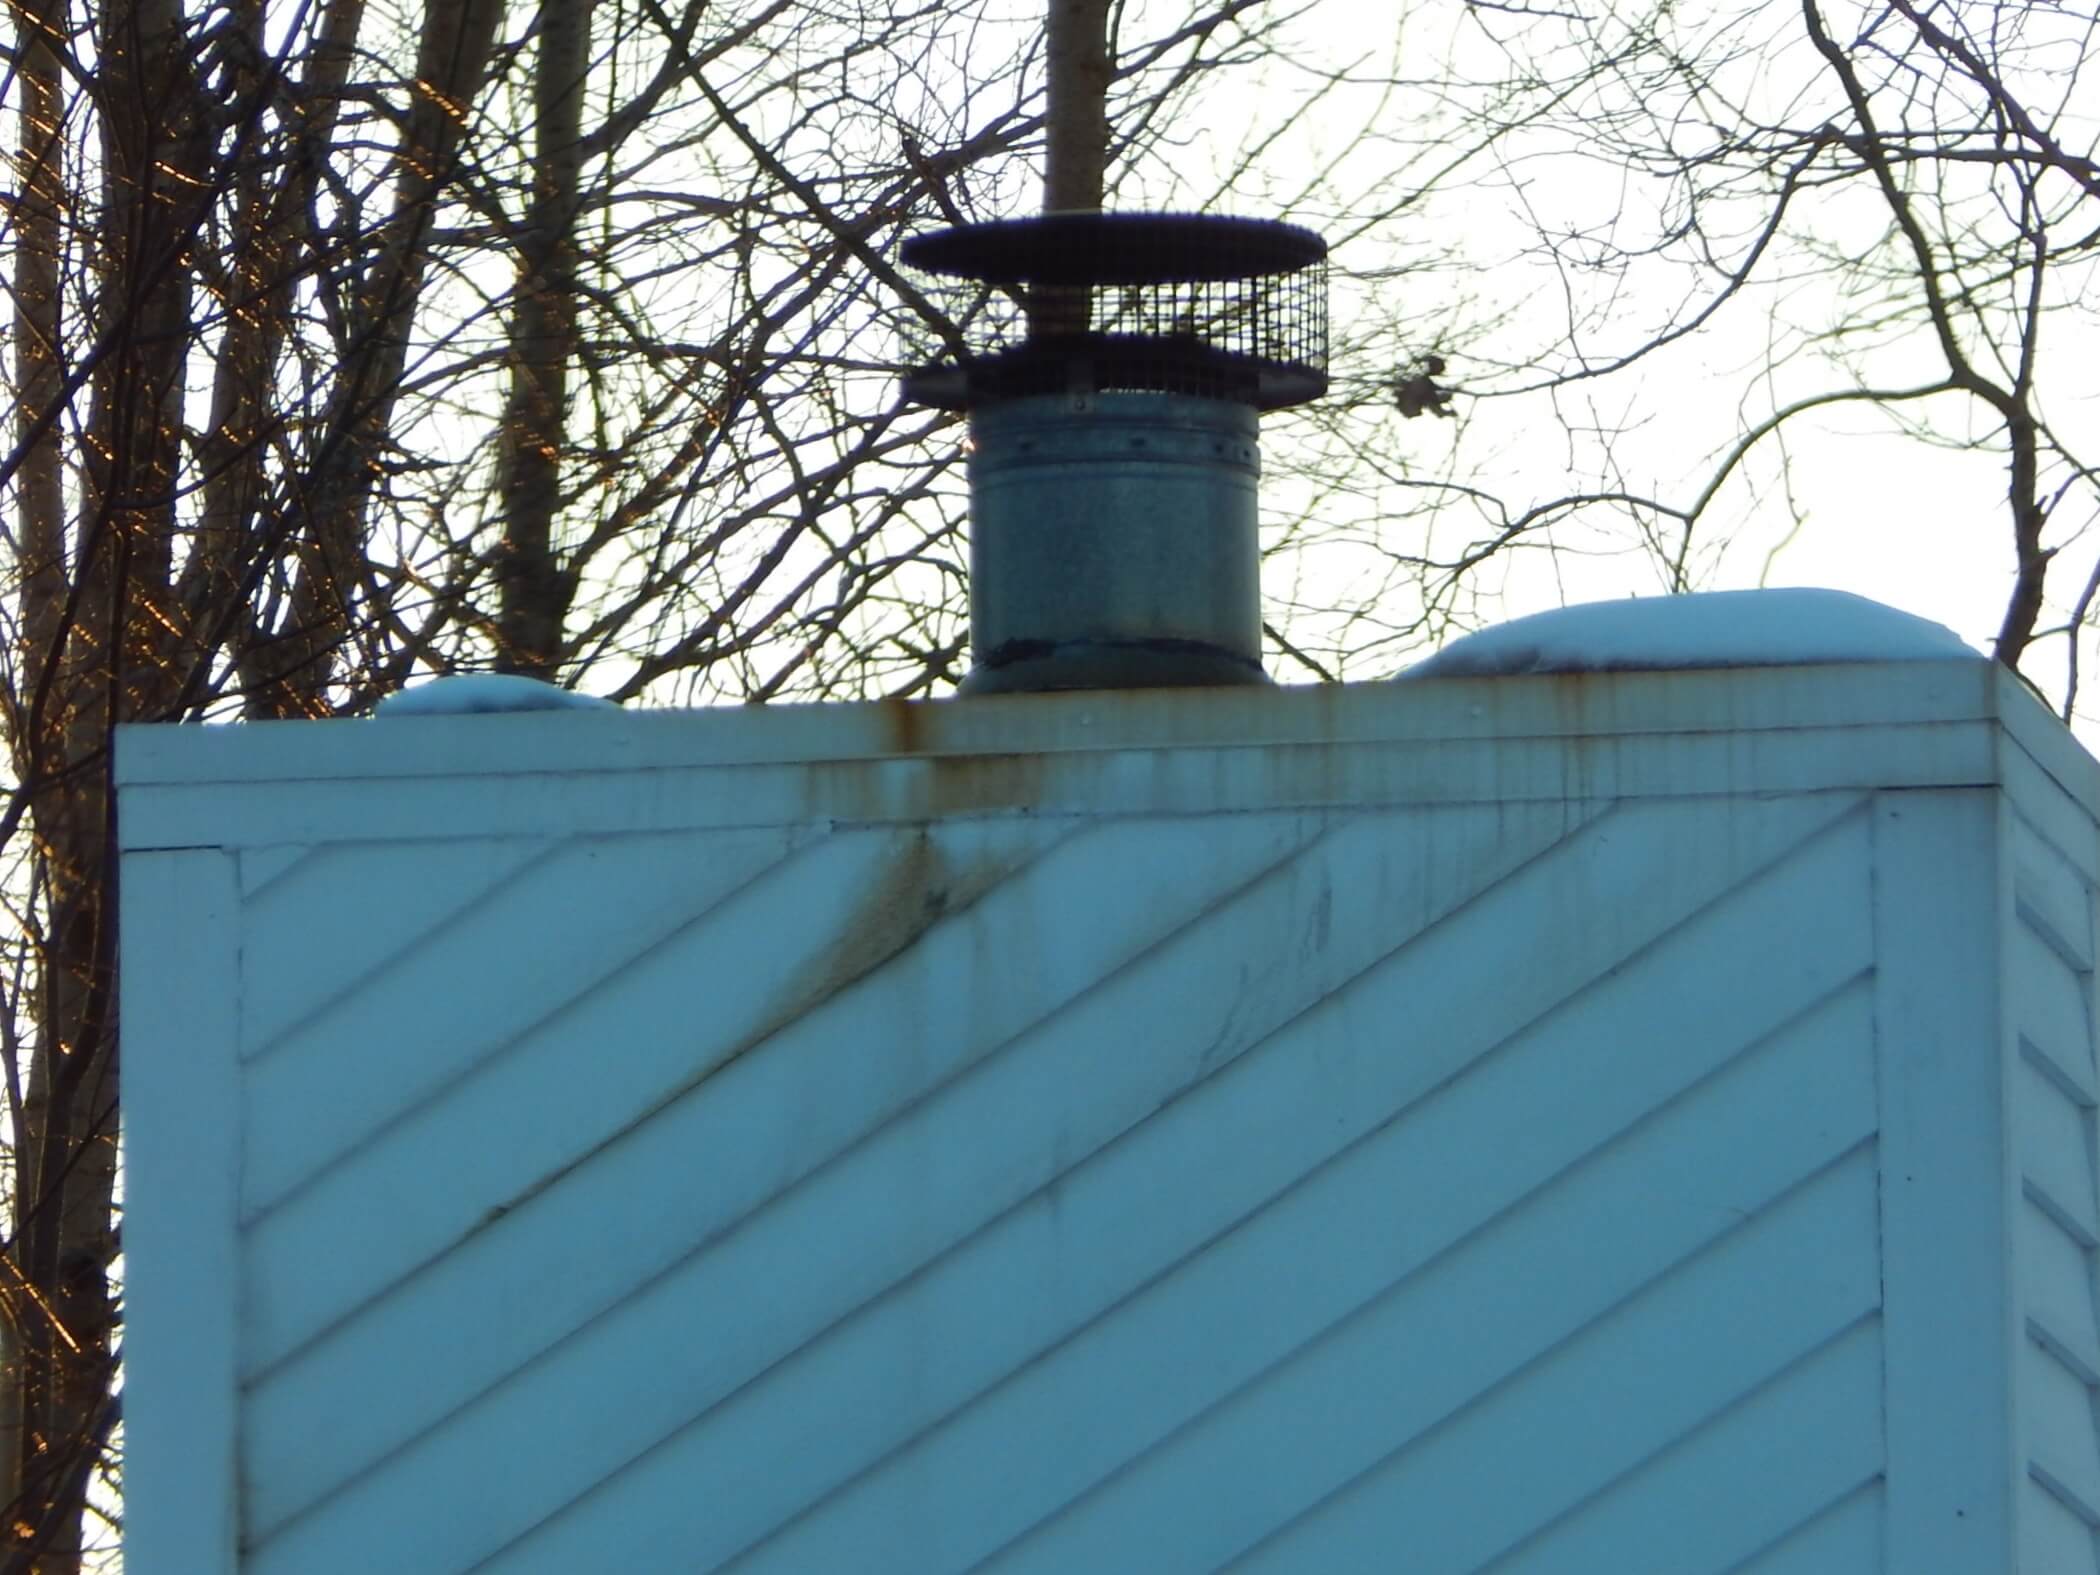
Check Chimney Cap
While up on the roof, it’s the time to also check the chimney cap and make sure it’s in working order.
Make sure the cap hasn’t suffered any damage due to the weather or heat and check for cracks.
If the cap has severe damage, it is probably best to replace it with a new one.
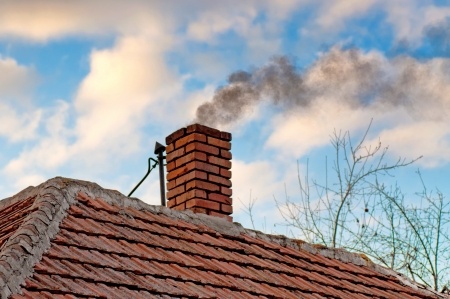
Check For Damaged Chimney Bricks And Mortar Joints
Inspect the condition of the chimney's bricks and mortar joints, both inside and outside the chimney.
Damaged areas of brick and mortar joints can allow water seepage, as well as allowing dangerous fumes and fire leaks.
Look for chipped and broken areas of brick and areas of mortar that crumble due to looseness.
One sure sign the mortar joints aren't sealed properly and aren't repelling water is if you notice white spotted areas, which are calcium deposits from the absorption of water.
This is a sign quick repairs are warranted.
Check The outdoor Mortar Joints Of The Chimney
Examine the joints using a penknife. While probing, if 3/4” of the mortar is loose, crumbles and falls out, water could be getting into the flue.
The masonry requires resealing to stop any leakage.
Inspect The Condition Of The Chimney’s Inside Mortar Joints
Use a mirror and looking into its inside for half-empty joints.
When burning in unlined chimneys, the corrosive action of those byproducts will eat away at the mortar joints on the flue’s side.
The only solution is the relining of the chimney.
Check The Chimney For Animals
Humans aren’t the only ones who get cold during the winter months.
Sometimes your chimney looks like the perfect home for some animals to take up residence during cold temperatures to stay warm.
Depending on the animal and the state of the nest, you might have to contact a professional animal control company to remove your unwanted houseguests.
Check The Flue
When performing your chimney checklist, various areas of the flue require inspection.
Inspect The Flue Liner’s Condition
This is important especially if clay tile liners were used, because they can crack and separate.
Cracked tile liners can result in the chimney causing a fire.
Modern liners made from metal and masonry are more durable, but still require checking.
Check For Creosote Bleeding Through Mortar Joints And Soot
This can be done when inspecting the flue.
Liners and mortar joints that are faulty are typically the blame, but the buildup of creosote can also create problems and requires cleaning.
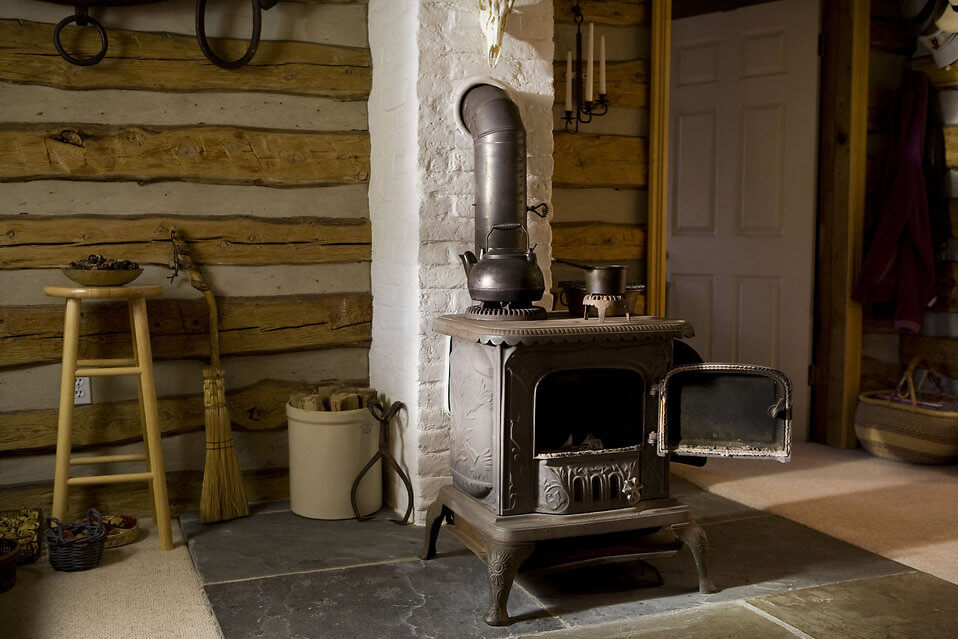
Check The Damper And Ash Pit
Perform an inspection of the damper, making sure everything is in operating order and functions smoothly. Replace any missing or damaged cotter pins.
Look for any mortar that is missing or cracked around the base plate and anchoring area. If repairs are required, use a refractory mortar.
Empty any ashes contained in the ash pit.
Clean The Chimney
Once you’ve completed all the chimney checklist items above and made your repairs, if needed, you need to have the chimney cleaned.
The Chimney Safety Institute of America suggests homeowners get their chimney cleaned once each year.
Homeowners can choose to hire a professional to do this job or purchase the needed brushes and devices and do the job themselves.
The cleaning process involves cleaning any soot and creosote that has built up on the walls of the flue and then vacuuming the residue off the smoke shelf, as well as the hearth.
After Cleaning Inspection
Once the chimney has been cleaned, some areas still require checking.
Inspect for soot and debris on the smoke shelf.
If a stovepipe is attached, examine its thimbles, making sure they do not protrude into the space of the flue where they can impede the flow of draft.
The thimbles should be extending completely through the wall of the chimney, stopping flush with the surface inside.
Chimney Checklist - Overall
Adding your chimney checklist to your “spring to-do list,” assures your chimney will function properly throughout the winter, while keeping you warm and safe inside.

About the Author
Obsessed with firewood, Nick is behind over 350+ of Firewood For Life's articles, as well as countless reviews, guides and YouTube videos to help readers like you reduce heating costs and create the perfect fire.
Recent Articles
-
Firewood Measurements - Firewood Cord Calculator
 Firewood measurements such as a cord, face cord or rick can be confusing. Use this free firewood calculator to determine exactly how much firewood you have.
 -
Alder Firewood - A Good Firewood Choice?
 Should you burn alder firewood in a fireplace, wood stove or campfire? Learn how to split, stack and dry alder for the best results.
 -
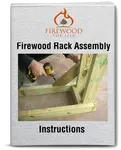
Firewood Rack Assembly Instructions - Build Your Own Log Rack
 Use these easy to follow firewood rack assembly instructions to build your own rugged and durable outdoor firewood rack.