- Home
- Cutting Firewood
- Sawbuck Plans
Sawbuck Plans
This post may contain affiliate links so I earn a commission.
These sawbuck plans are designed to give you an easy way to build a strong, stable, folding sawbuck.
By using just a few 2x4's purchased from a local retailer, you can build your own sawbuck for a relatively low price.
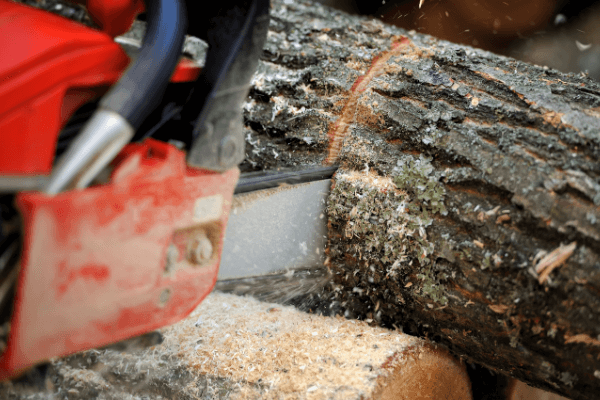
A sawbuck is a device used to hold rough wood so it can be cut into smaller, more useable lengths.
The logs or limbs are placed into the open V's which stabilize the wood allowing you to safely cut it up.
The sawbuck also holds the wood off the ground eliminating the possibly of running your chainsaw chain into the dirt.
The folding design of this sawbuck allows you to easily store the device when it's not in use and it's very stable, reducing the possibility of it tipping over.
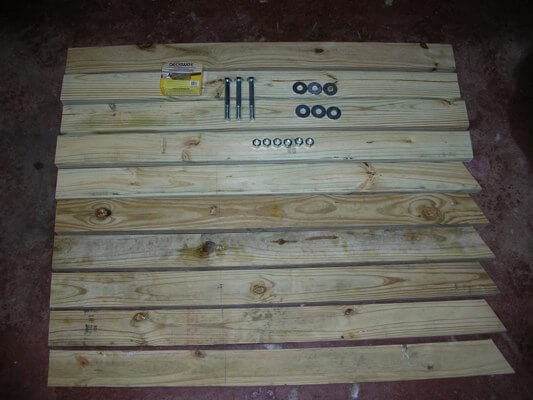
Sawbuck Plans - Supplies
These are the supplies used in the construction of the sawbuck.
Treated lumber was used in these sawbuck plans because the sawbuck will be used outdoors and exposed to the elements.
It's not necessary to use treated lumber, but it only cost's a few dollars more.

Five 8 foot 2x4's cut into ten 4 foot lengths
Three 5 inch 5/8 bolts
Six 5/8 washers
Six 5/8 nuts
3 1/2 inch outdoor screws
Dewalt lithium ion impact driver
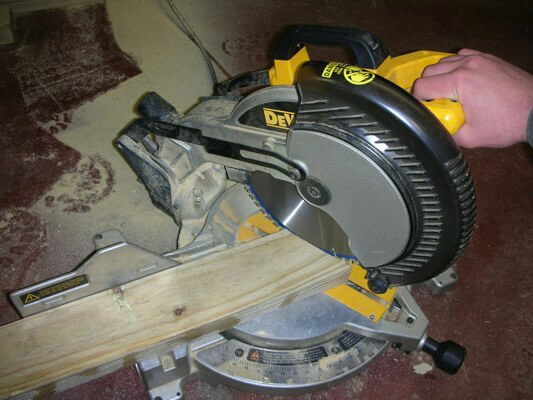
Dewalt chop saw
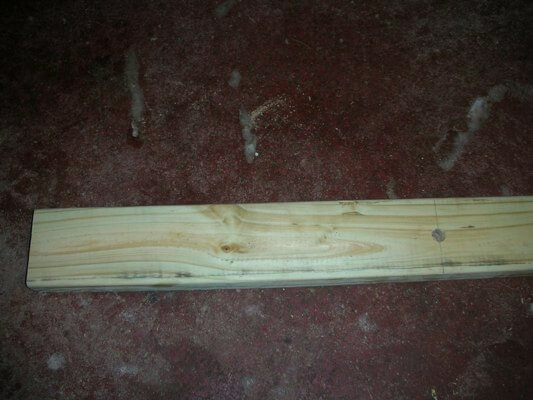
Sawbuck Plans - Construction Begins
Take six of the 4 foot 2x4's and cut a 30 degree angle on one end.
Make sure to only take off the angle and do not cut down the total length of the 2x4.
Your supplies should now look like this:
Four 4 foot long 2x4's
Six 4 foot long 2x4's with a 30 degree angle at one end
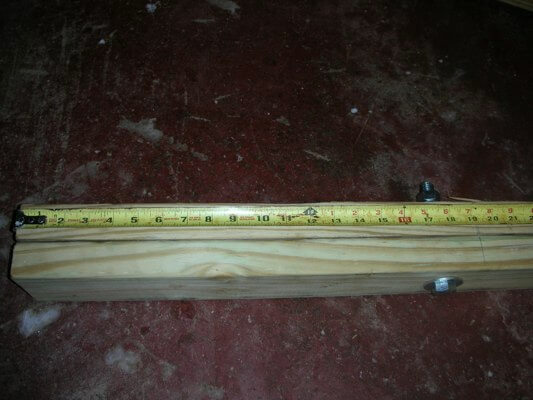
Next, take the six 2x4's with the 30 degree angle.
From the vertical 90 degree edge, measure down 18 inches and mark a line.
Do this with all six boards.
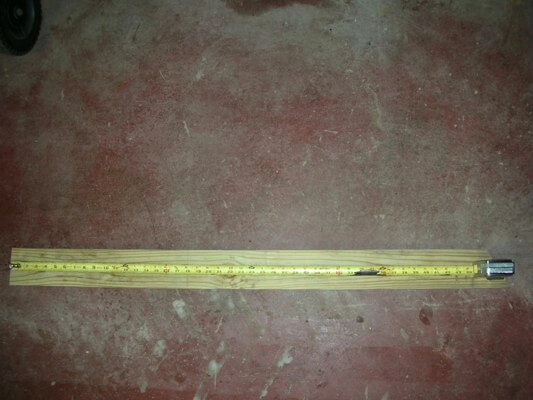
Here is a closer view.
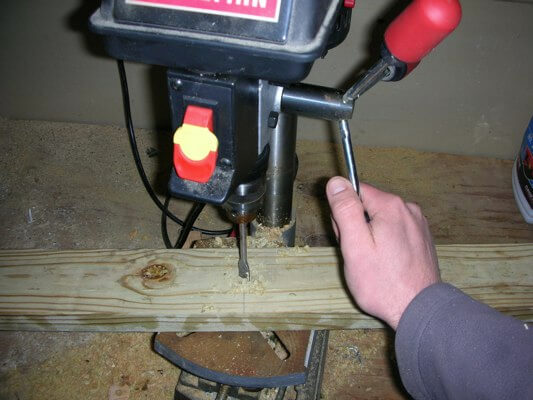
Drill a 5/8 inch hole in the center of the 2x4 on your 18 inch mark.
Make sure to accurately drill a straight hole in the center of all six 2x4's.
I used a drill press to make sure the holes were straight.
The six 2x4's should now look like this.
The 30 degree angle is at the other end, out of the picture.
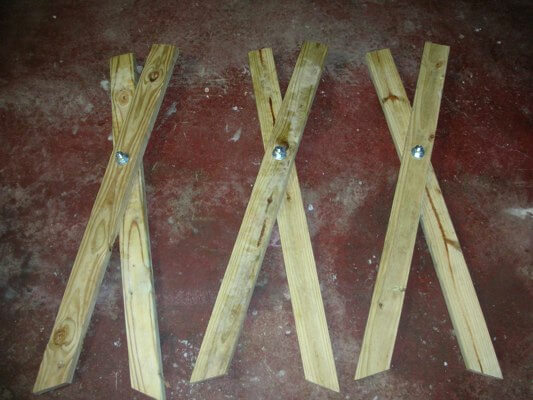
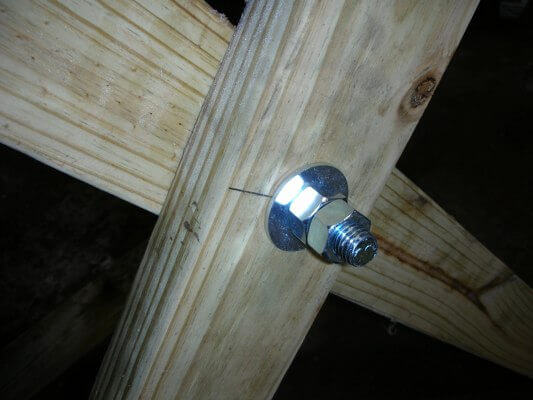
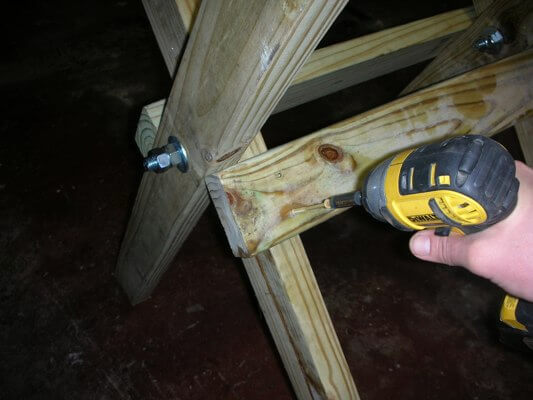
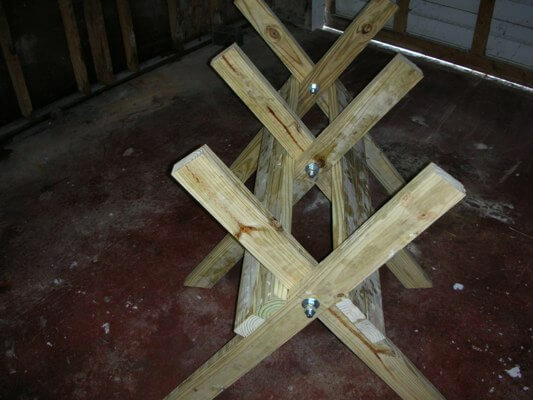
Next, using the bolts, washers and nuts, assemble 3 "X" shaped crosses.
A washer is placed on each side of the "X" and two nuts are used.
Using two nuts will prevent the nuts from backing off and becoming loose over time.

Tighten the nuts so they are snug, but still allow the "X" to open and close freely.
Tightening them too much will make opening your sawbuck difficult.
You can always adjust the nuts later if needed.
Here's a closer view.
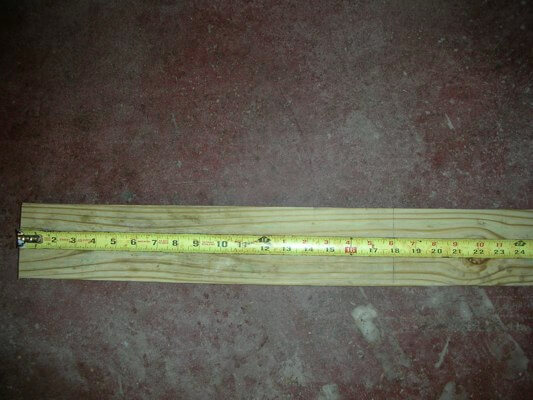
Next, fold all three X's flat and mark a line 19 1/4 inches down.
This will be slightly below the bolts.
Do this on all 3 X's.
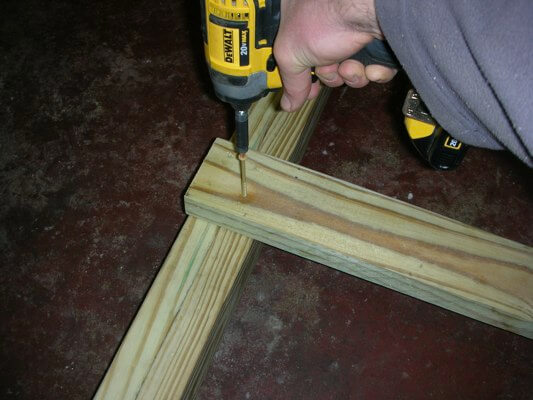
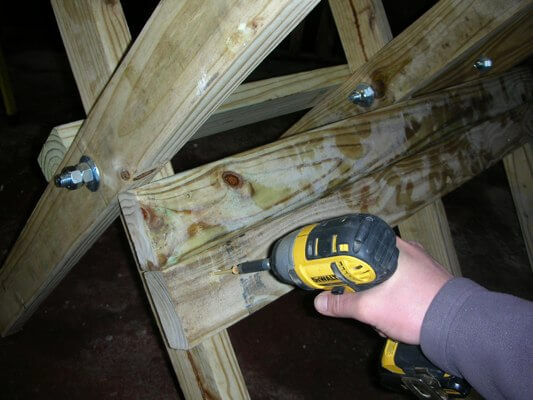
Using the 3 1/2 inch screws, attach a 4 foot 2x4 along the lines of each X.
I centered the middle X at 22 1/2 inches.
Note in the picture how I am screwing into the inside 2x4.
This will allow the X to open up creating your standing sawbuck.
Use 2 screws in each leg of the X.
It should now look like this.
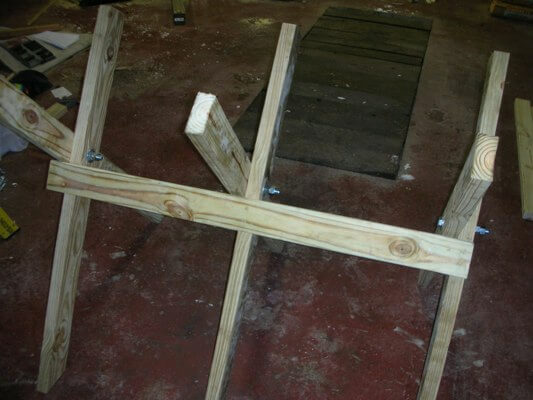
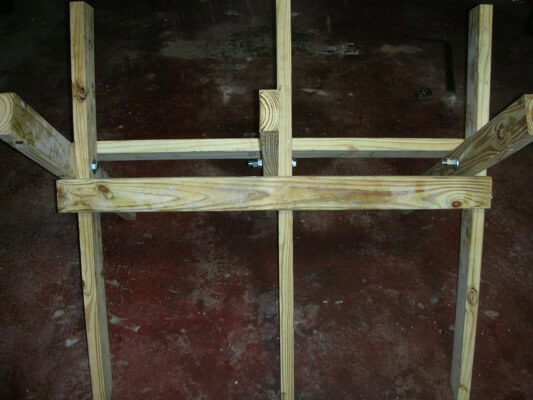
Now attach another 4 foot 2x4 to the other side of the X.
Your sawbuck should now look like this.
See how the bolts are all facing the same direction?
If you cut on the shorter "head" side of the bolt each time it will reduce the chances of you hitting the bolt with your chainsaw.
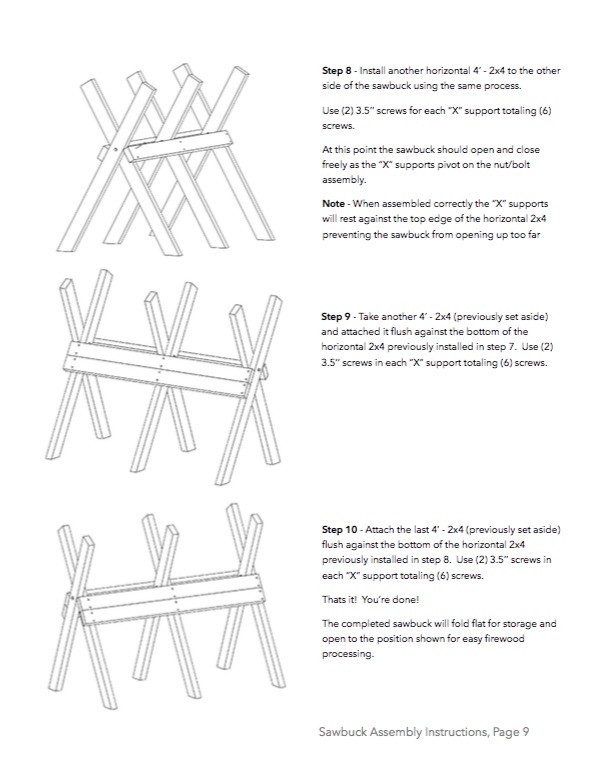
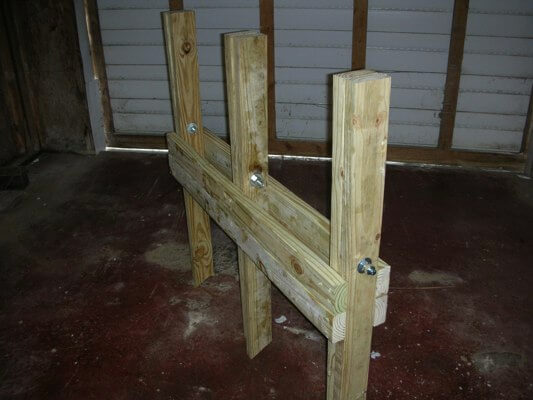
Finally, attach a second 4 foot 2x4 to each side of the sawbuck.
This will add extra strength.
That's it...You're done!
The finished sawbuck will look like this.
Here's another view of the sawbuck folded up for storage.
Following these sawbuck plans will allow you to create a useful firewood cutting tool.
The supplies cost around $20 and the project takes around 1-2 hours to complete.

About the Author
Obsessed with firewood, Nick is behind over 350+ of Firewood For Life's articles, as well as countless reviews, guides and YouTube videos to help readers like you reduce heating costs and create the perfect fire.
Recent Articles
-
Firewood Measurements - Firewood Cord Calculator
 Firewood measurements such as a cord, face cord or rick can be confusing. Use this free firewood calculator to determine exactly how much firewood you have.
 -
Alder Firewood - A Good Firewood Choice?
 Should you burn alder firewood in a fireplace, wood stove or campfire? Learn how to split, stack and dry alder for the best results.
 -
Firewood Rack Assembly Instructions - Build Your Own Log Rack
 Use these easy to follow firewood rack assembly instructions to build your own rugged and durable outdoor firewood rack.